

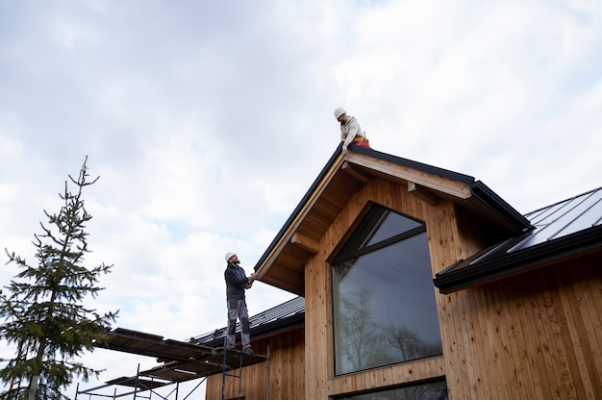
Your home’s exterior is its first line of defense against weather, moisture, and everyday wear. A professional siding installation not only improves the appearance of your property but also enhances its durability, energy efficiency, and overall value. Whether you’re building a new home or replacing old siding, understanding the installation process can help you make informed decisions and achieve long-lasting results. Choosing the right materials and working with experienced professionals are essential steps toward a successful project.
Below is a complete guide to siding installation and what homeowners should know before getting started.
1. Choose the Right Siding Material
The first step in any siding project is selecting the best material for your home. Popular options include vinyl, fiber cement, wood, engineered wood, metal, and composite siding.
Each material offers different benefits in terms of durability, maintenance, appearance, and cost. Consider factors such as your local climate, budget, and desired style before making your final decision. The right material will provide long-lasting protection while enhancing your home’s curb appeal.
2. Prepare the Exterior Surface
Before siding installation begins, the existing exterior should be carefully inspected and prepared. Old siding, damaged materials, and debris are removed, while the wall structure is checked for signs of moisture damage, rot, or mold.
Any necessary repairs should be completed before installing new siding to ensure a strong and stable foundation. Proper preparation helps prevent future issues and improves the overall performance of the siding.
3. Install Weather-Resistant Barriers
A weather-resistant barrier is an important part of the installation process. This protective layer helps prevent water from reaching the home’s structure while allowing moisture vapor to escape.
Flashing is also installed around windows, doors, and other openings to direct water away from vulnerable areas. These protective measures help reduce the risk of water damage, mold growth, and structural deterioration over time.
4. Professional Installation Matters
Proper installation is just as important as choosing quality materials. Experienced installers carefully align siding panels, secure fasteners correctly, and leave the appropriate expansion gaps to allow for temperature changes.
Professional workmanship ensures the siding performs as intended, improves weather resistance, and creates a clean, attractive finish. Correct installation also helps maximize the lifespan of the siding and minimizes future maintenance needs.
5. Inspect the Finished Project
Once the installation is complete, perform a thorough inspection of the finished work. Check that all panels are securely attached, seams are aligned properly, and trim pieces are neatly installed. Look for any visible gaps, loose sections, or unfinished details.
A final inspection helps ensure the project meets quality standards and allows any necessary adjustments to be made before the job is considered complete.
Final Thoughts
A successful siding installation involves more than simply attaching new panels to your home’s exterior. Choosing the right materials, preparing the surface properly, installing weather-resistant barriers, relying on skilled professionals, inspecting the finished work, and performing regular maintenance all contribute to long-lasting performance. By understanding each step of the process, homeowners can enjoy a beautiful, durable, and energy-efficient exterior that adds value and protection to their property for years to come.
